Oct 16, 2026Industry News
How to Photograph 1:64 Diecast Dioramas for Online Stores and Social Media
Learn how to photograph 1:64 diecast dioramas with better lighting, angles, backgrounds, and close-ups for online stores and social media.
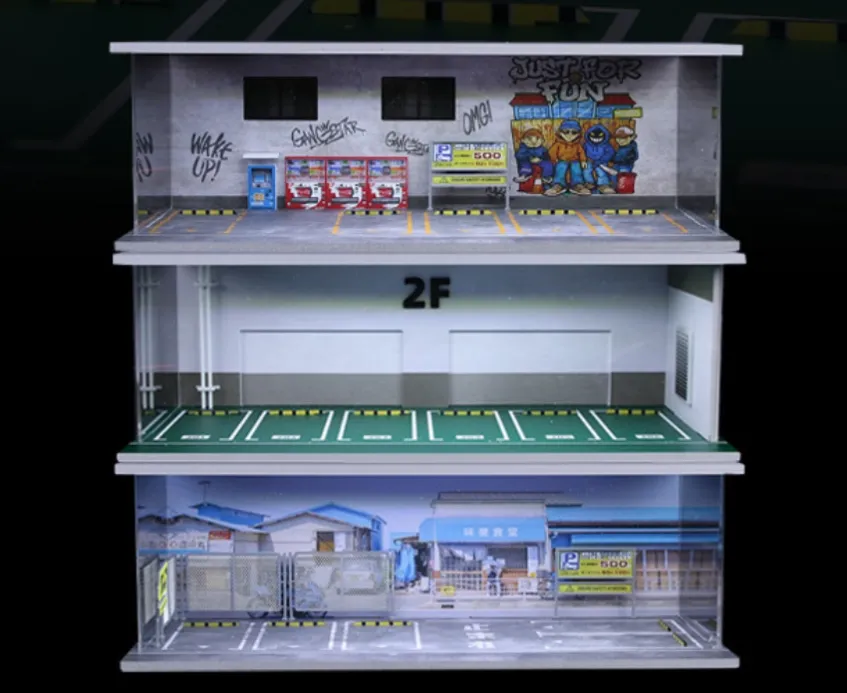
A well-designed 1:64 diecast diorama can look impressive in person, but capturing that same effect in a photograph is not always easy.
Small details may disappear, reflective surfaces can create unwanted glare, and the scale of a miniature scene can be difficult to communicate. For collectors, good photos help share a display with other enthusiasts. For online sellers, they help customers understand what a product actually looks like before placing an order.
The good news is that you do not need an expensive camera or a professional studio. A few practical adjustments can make your diecast garage, parking scene, or miniature workshop look much better.
1. Choose the Right Lighting
Lighting has a major effect on miniature photography. Too little light can hide details, while direct light may create harsh shadows or reflections on plastic covers and glossy car bodies.
Start with soft, even lighting. A window with indirect daylight can work well, provided the light remains consistent. Alternatively, use a diffused desk lamp or photography light.
Try placing the light slightly to the side rather than directly in front of the scene. This can reveal the texture of walls, road surfaces, parking lines, and workshop equipment.
If your miniature garage has a transparent dust cover, adjust the light position to reduce reflections. Photographing from a slight angle may also help.
2. Shoot from the Miniature Car's Perspective
One common mistake is photographing a diecast scene from too high an angle. Although this shows the overall layout, it can make the garage look flat and less realistic.
Try lowering your camera to the height of the miniature cars. This viewpoint makes parking spaces, ramps, garage entrances, and workshop details feel more natural.
You can also take a higher-angle photograph to show the full layout. Both perspectives are useful, but they serve different purposes:
- Low-angle shots: Emphasize realism and make the scene feel like a full-sized environment.
- High-angle shots: Show the layout, parking capacity, and arrangement of different sections.
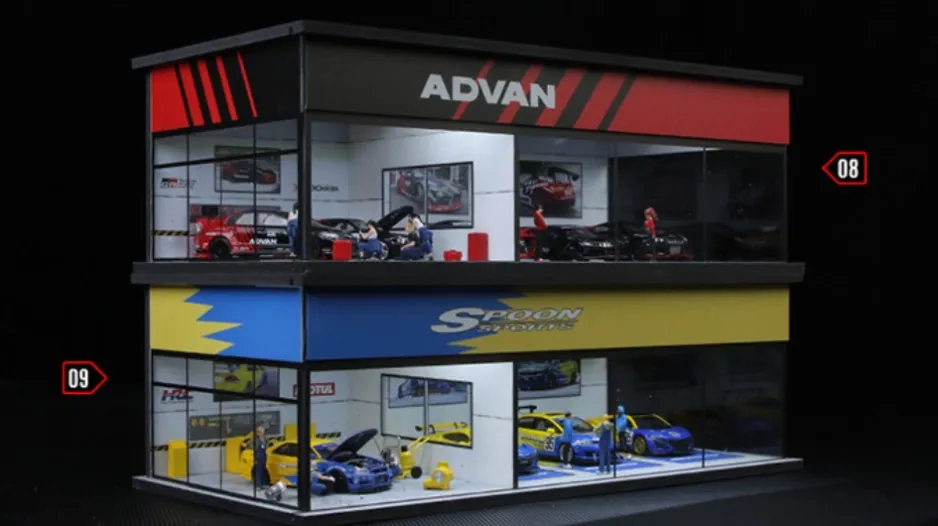
- Front-facing shots: Work well for product listings where customers need a clear view of the entire garage.
Take several photos before choosing the final image. A small change in camera height can make a noticeable difference.
3. Keep the Background Simple
A busy background can distract viewers from the miniature scene. Household items, cables, paperwork, or unrelated collectibles may draw attention away from the product.
A plain wall, neutral tabletop, or simple backdrop is often enough. Choose a background that contrasts with the garage without overpowering it.
For example, a darker background may help a light-colored parking structure stand out, while a neutral background can make colorful diecast cars easier to see.
For social media, you can experiment with themed backgrounds that match the scene. A street diorama might work well with a subtle urban setting, while a workshop scene may benefit from a clean industrial look.
The important thing is to keep the miniature product as the main subject.
4. Show the Details That Matter
A single wide photograph rarely tells the whole story of a diecast diorama.
Alongside the main image, capture close-ups of useful features such as:
- Parking spaces and vehicle access points
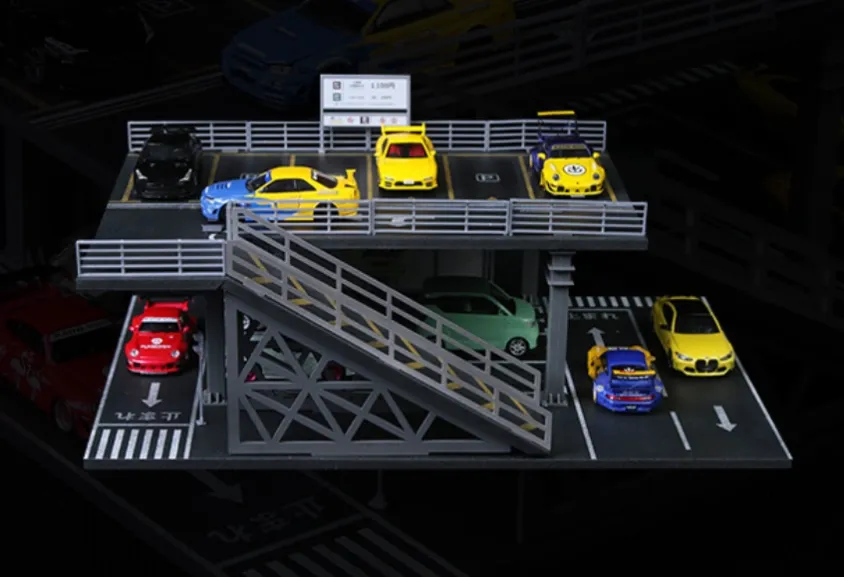
- Ramps, levels, and connecting sections
- Workshop tools, lifts, and accessories
- Doors, signs, walls, and other decorative details
- Transparent covers or movable components, if included
These photographs help collectors appreciate the craftsmanship and help buyers understand what comes with the product.
For online stores, make sure the images accurately represent the item being sold. If cars, figures, tools, or other props are used only for photography and are not included, clearly state that in the product description.
5. Use Diecast Cars to Show Scale and Layout
A garage photographed without any cars can sometimes look empty or make its dimensions difficult to judge.
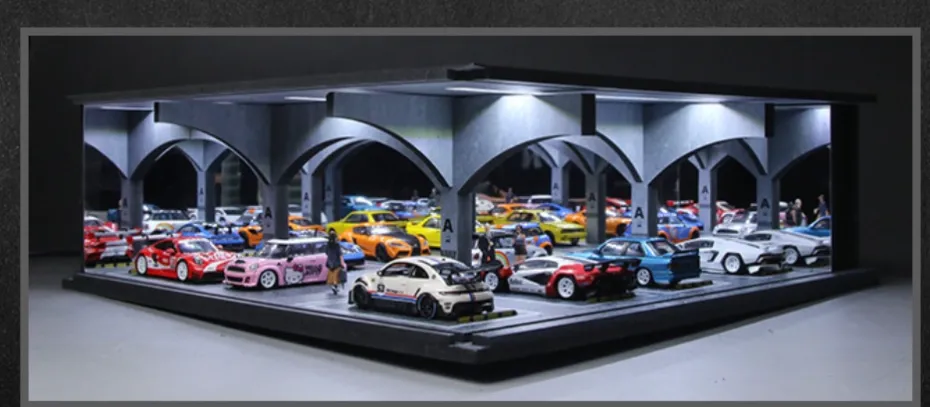
Adding a few compatible 1:64 diecast cars can help demonstrate how the display works in practice. Place them naturally in parking spaces or near the entrance rather than filling every available area.
If you are photographing a product for sale, keep the arrangement realistic. Avoid using cars that are too large for the intended scale or positioning them in ways that hide important features.
For B2B product listings, consider including both a staged photograph with cars and a clear product-only image. This gives buyers a better understanding of the display itself.
6. Prepare Photos for Online Stores and Social Media
Different platforms need different image formats, but clarity should always come first.
For an online product page, use a clean main image that shows the entire item. Follow it with detail shots and alternative angles. Consistent backgrounds and framing across product listings also make a website look more professional.
For social media, a close-up or low-angle image may attract more attention because it highlights the scene's atmosphere and details. Short videos showing multiple levels, moving components, or different viewing angles can also help demonstrate a product.
Avoid excessive filters or editing that changes the product's actual colors and appearance. Accurate photographs help set the right expectations and reduce confusion after purchase.
7. Make a Simple Photography Checklist
Before taking your final photographs, check the following:
- Clean dust and fingerprints from the miniature garage and cars.
- Make sure the main features are not hidden.
- Check for unwanted reflections and harsh shadows.
- Take at least one full-layout shot and several detail shots.
- Keep the background tidy.
- Confirm that the photos accurately represent the product and included accessories.
You can use the same checklist for new product launches, catalog updates, and regular social media posts.
Final Thoughts
Good diecast photography is less about expensive equipment and more about showing the product clearly. Soft lighting, a suitable camera angle, a clean background, and useful close-ups can help a 1:64 diecast diorama look more appealing without misrepresenting it.
Whether you are sharing a personal collection or presenting miniature garages for an online store, take photographs that show both the overall scene and the details buyers care about.
Explore our range of 1:64 and 1:18 diecast garages, parking structures, miniature workshops, and diorama accessories for more display ideas and product inspiration.