Oct 15, 2026Industry News
Small Details That Make a 1:64 Diecast Workshop Look More Realistic
Explore 1:64 garages, vehicle lifts, tool racks, mechanics, and other scene accessories to find the pieces that fit your next project.
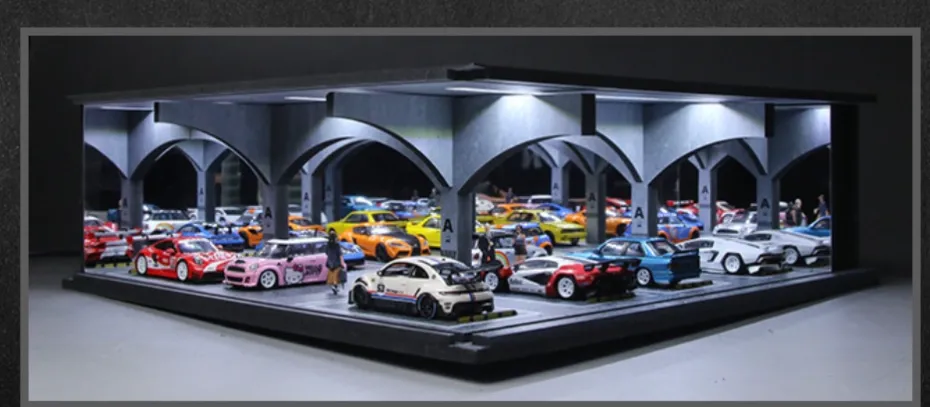
A row of miniature cars can look impressive, but sometimes something still feels missing.
You have the vehicles, the garage, and perhaps even a few parking spaces. Yet the scene looks more like a display shelf than a real automotive workshop.
The difference often comes down to the small details.
For collectors who enjoy building realistic 1:64 scenes, the right accessories can turn a simple garage into a miniature world with its own character.
Start with a Clear Story
Before buying accessories, think about what you want your scene to represent.
Is it a professional repair shop? A private garage where a collector keeps favorite cars? A busy tire service center? Or a parking facility in the middle of a city?
Each setting needs different details.
A repair workshop may need a vehicle lift, tool cabinets, tire racks, and a workbench. A private garage might look better with storage shelves, a few tools, and one or two carefully positioned cars.
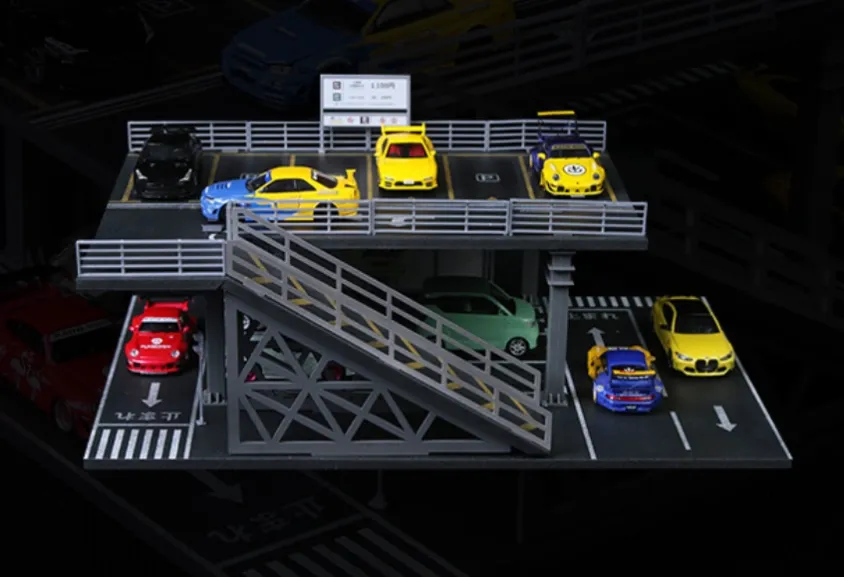
For a parking scene, barriers, signs, painted parking lines, and small figures can make the environment feel more believable.
You do not need every accessory available. A clear theme helps you select the pieces that contribute to the scene instead of filling every empty space.
Give Every Accessory a Purpose
One common mistake is adding too many accessories simply because they look interesting.
A crowded workshop can actually feel less realistic if there is no space for people or vehicles to move.
Instead, think about how a real workshop operates.
A tire rack should be near the service area. Tools should be placed where a mechanic might use them. A vehicle lift needs enough room around the car. Storage cabinets should not block access to the working area.
Even at 1:64 scale, these relationships make a difference.
Try arranging the larger items first, such as lifts, workbenches, and tool cabinets. Then add smaller details to fill the remaining space.
This approach also makes it easier to change the layout later.
Figures Add Life to a Scene
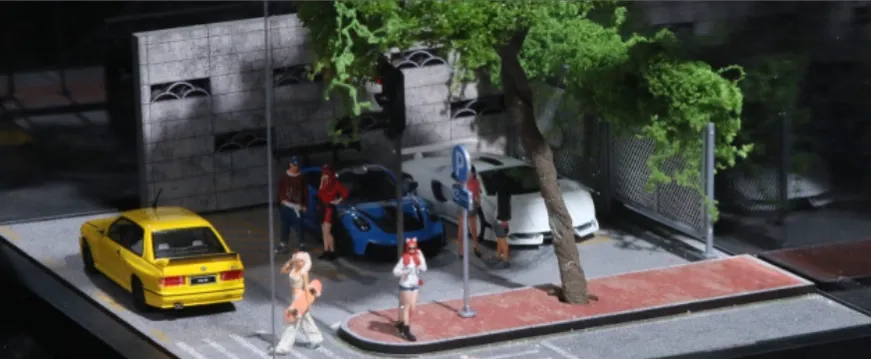
Miniature figures can make a static display feel active.
A mechanic working beside a raised vehicle, a person checking a car, or someone standing near the workshop entrance gives viewers something to focus on beyond the vehicles themselves.
However, figure quality matters.
Look closely at the proportions, posture, paint details, and how the figures fit into the overall scene. If you plan to reposition them frequently, consider their construction and how easily they can be handled.
Some small accessories and figures can be delicate, so it is worth checking product photos and material details before purchasing.
A few well-placed figures often work better than a large crowd.
Pay Attention to Scale and Proportion
Not every accessory labeled for a miniature scene will look right beside every car.
A tool cabinet that is too tall, a lift that is too narrow, or a figure with unusual proportions can make an otherwise convincing scene feel out of place.
When choosing workshop accessories, compare their dimensions with your existing models and garage layout.
For 1:64 collectors, small differences can be noticeable because everything sits close together.
If you are buying several accessories from different sources, try to confirm the actual measurements rather than relying on scale labels alone.
Use Lighting and Color Carefully
Lighting and color can help establish the atmosphere of your workshop.
Neutral colors such as gray, black, and white create a clean, modern automotive environment. Brighter colors can help certain tools, signs, or service areas stand out.
You can also use contrasting colors to separate different zones, such as parking, repair, and storage areas.
If you add miniature lighting, avoid making every corner equally bright. A little contrast can create depth and help draw attention to your favorite vehicles.
The goal is not to make every detail stand out. It is to create a scene where the different elements work together.
Test the Layout Before Adding More
Once the larger accessories are in place, take a photo of the scene from the angle where it will normally be viewed.
Does the workshop look balanced? Can you see the cars clearly? Are some accessories hidden behind others? Is there enough room to move a vehicle in and out?
A photograph often reveals problems that are easy to miss when looking at the scene directly.
You can also try different arrangements before permanently fixing any pieces in place.
Build a Scene That Reflects Your Interests
There is no single correct way to build a miniature workshop.
Some collectors prefer highly detailed service bays. Others enjoy clean, minimalist garages with just a few favorite cars. The best setup is the one that reflects your own interests.
Start with the essentials, choose accessories that fit your theme, and add details gradually.
A realistic 1:64 workshop does not need to be the biggest or most complicated one. Sometimes, a well-positioned lift, a few tools, and the right car are enough to tell the whole story.
Ready to develop your own miniature workshop?
Explore 1:64 garages, vehicle lifts, tool racks, mechanics, and other scene accessories to find the pieces that fit your next project.