Oct 29, 2026Industry News
How to Create a Realistic Automotive Repair Story with Diecast Cars
A realistic diecast repair diorama starts with a clear idea, a suitable vehicle, and accessories that support the story.
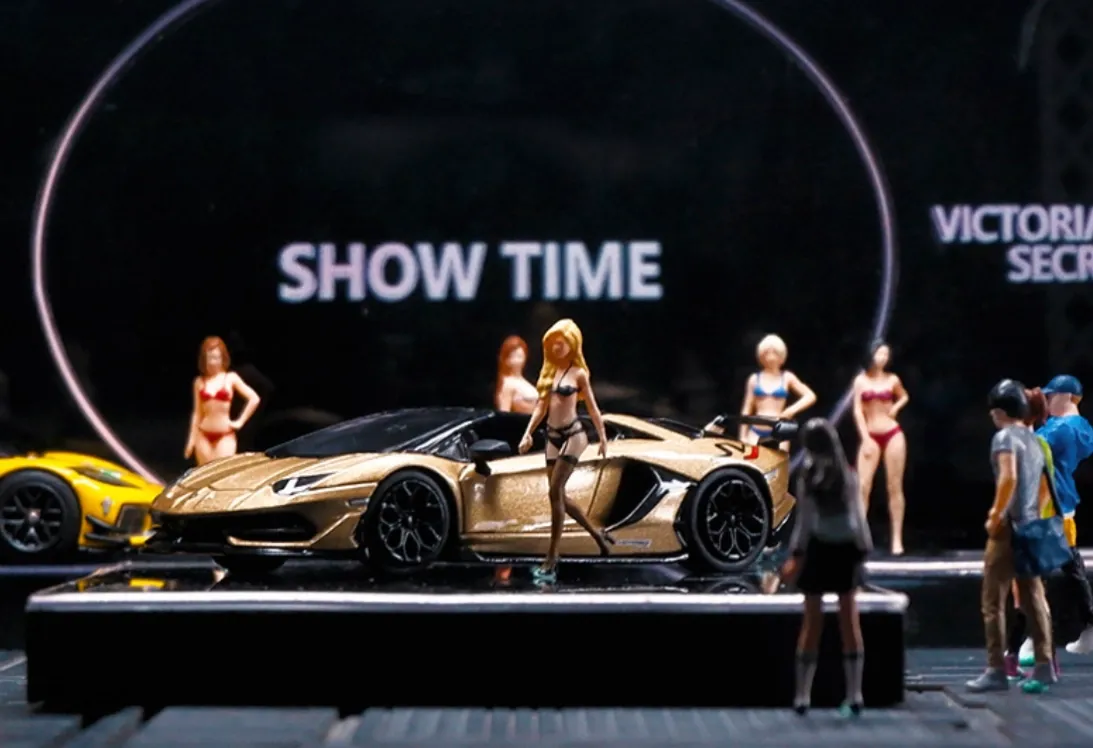
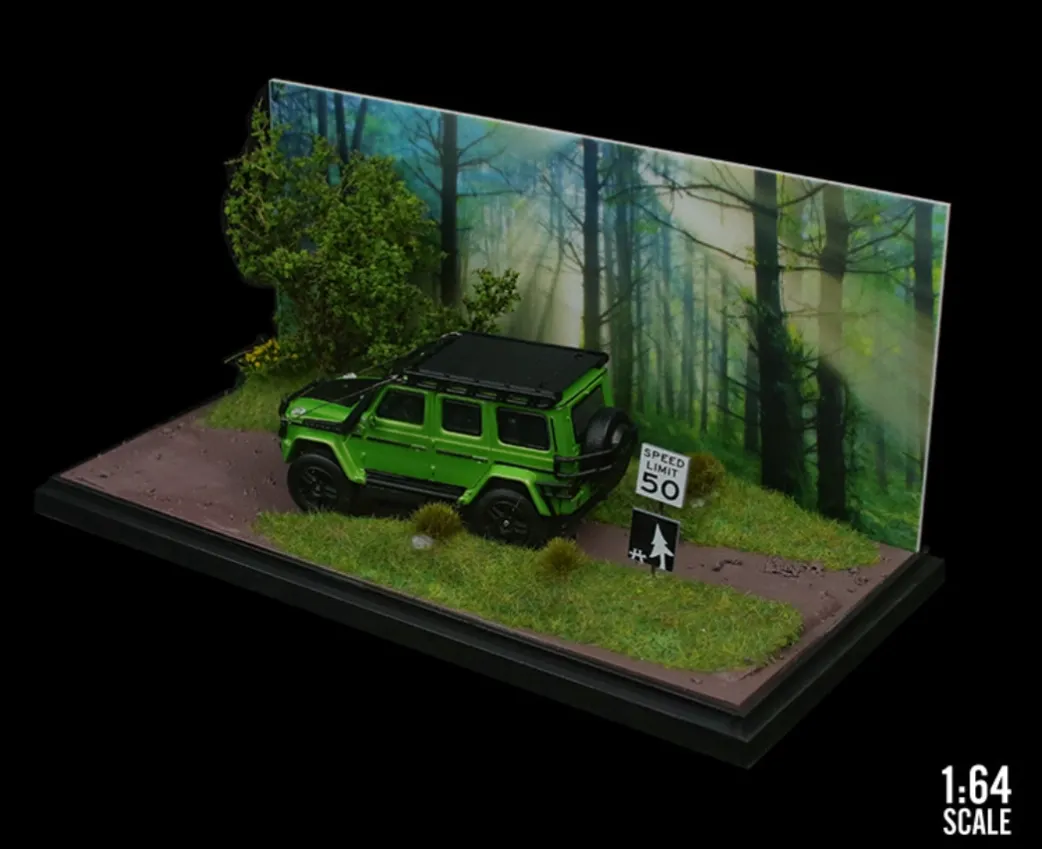
A good diecast diorama does more than display miniature cars. It creates a setting that makes the vehicles feel as if they belong somewhere.
An automotive repair scene is a great example. A car parked beside a workbench, a mechanic checking a tire, and a few tools arranged nearby can suggest a complete story without requiring a large display.
Whether you collect 1:64 diecast cars or build larger-scale scenes, a little planning can help you create a more convincing automotive workshop.
Start with a Simple Story
Before arranging the cars and accessories, decide what is happening in your scene.
Perhaps a classic car has arrived for routine maintenance. Maybe a sports car is receiving new tires, or a mechanic is inspecting a modified street car.
Choosing one clear situation makes it easier to decide which accessories you need. It also prevents the display from becoming a random collection of miniature objects.
You do not need several vehicles or many figures. One main car and a small number of well-chosen details can be enough.
Choose a Vehicle That Fits the Theme
The car should be the main focus of the scene.
Classic cars can work well in traditional workshops, while modern performance cars may suit a specialist garage. A modified street car can be displayed alongside tires, tools, and repair equipment.
Consider the vehicle's size before selecting the diorama. Wide-body cars, trucks, and models with large spoilers may require more space than standard passenger cars.
If you plan to display several vehicles, decide which one should attract the most attention. The remaining cars can support the scene rather than compete with the main subject.
Select a Suitable Workshop Setting
The building or scene establishes the environment for the story.
A compact garage is useful for a single-car maintenance scene. A larger workshop may provide space for multiple vehicles, workbenches, and repair equipment. A street-side repair shop can create a more urban setting.
Look beyond the appearance of the building. Check the floor area, entrance dimensions, and available room around the vehicle.
If the product includes lighting, consider how it affects the scene. Well-placed lighting can highlight the vehicle and workshop details without making every part equally bright.
Add Accessories with a Purpose
Accessories should support the story you are trying to tell.
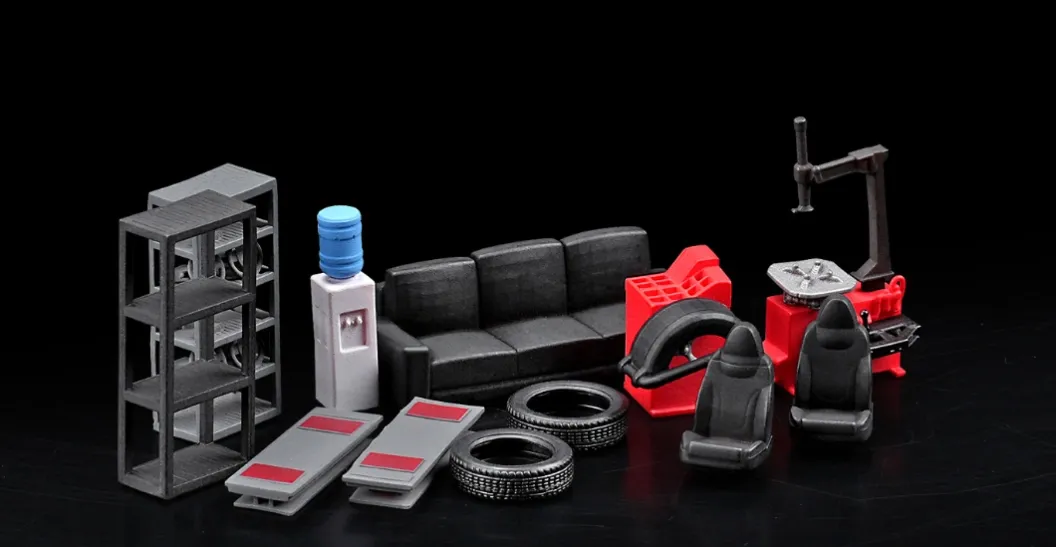
For a tire-changing scene, you might use a floor jack, spare tires, and a tire rack. A general repair scene may need a workbench, tool cabinet, and miniature repair tools. A mechanic figure can add human activity, provided there is enough room for it.
Arrange larger items first and smaller details afterward.
Try to leave some open floor space. A workshop that is completely filled with tools can look less realistic and make the main vehicle harder to see.
Think About Position and Movement
A convincing repair scene often suggests how people and vehicles move through the space.
Place the car where a mechanic could reasonably work on it. Keep tools close to the area where they would be used, and avoid blocking the workshop entrance with equipment.
You can also create a sense of activity by positioning a figure near a wheel, a workbench, or the front of the vehicle.
These details do not need to be technically elaborate. Their purpose is to make the arrangement feel intentional.
Use Color and Lighting Carefully
The colors of the car, building, and accessories should work together.
If the main vehicle has a bright paint color, a more neutral workshop can help it stand out. Alternatively, a colorful garage can create a stronger visual theme when paired with a simple vehicle.
Lighting can also change the atmosphere. Neutral lighting is useful for showing details, while warmer lighting may create the feeling of an evening workshop.
If your display has built-in LED lights, test the scene from different viewing angles to see where reflections or shadows appear.
Avoid Common Diorama Mistakes
A few simple checks can prevent common problems:
Using accessories that are too large: Check dimensions rather than relying on scale labels alone.
Crowding the vehicle: Leave enough room around the car so the workshop remains visible.
Mixing unrelated themes: Choose accessories that make sense for the same setting.
Ignoring stability: Make sure small accessories and figures can remain in place during normal handling.
Forgetting maintenance: Open displays may collect dust, so consider how easily you can reach the vehicle and accessories.
Final Thoughts
A realistic diecast repair diorama starts with a clear idea, a suitable vehicle, and accessories that support the story. You do not need to build a complicated scene to make it interesting.
We offer miniature garages, automotive dioramas, and workshop accessories for diecast collectors. Explore the available designs to find a setting that suits your collection, or contact us for product details.